


Summer is officially over and the weather is slowly starting to get cooler and slightly more wet.
But for professional photographers and videographers, the work doesn't stop because of a change of weather! Rain, snow, or sleet the best always find a way to deliver.
To help you shoot in tricky weather, here's our top five tips to shooting in the wet.
Tip #1: Get a rain cover
If you don't already have one in your camera bag, invest in a rain cover! While a rain cover might limit your ability to adjust focus and view images on your camera, it's much better than spoiling a days shoot and having water or streaks on your lens.
We recommend the Neewer rain cover, which can be found on Amazon for £8.99.
 Tip #2: Use a lens hood
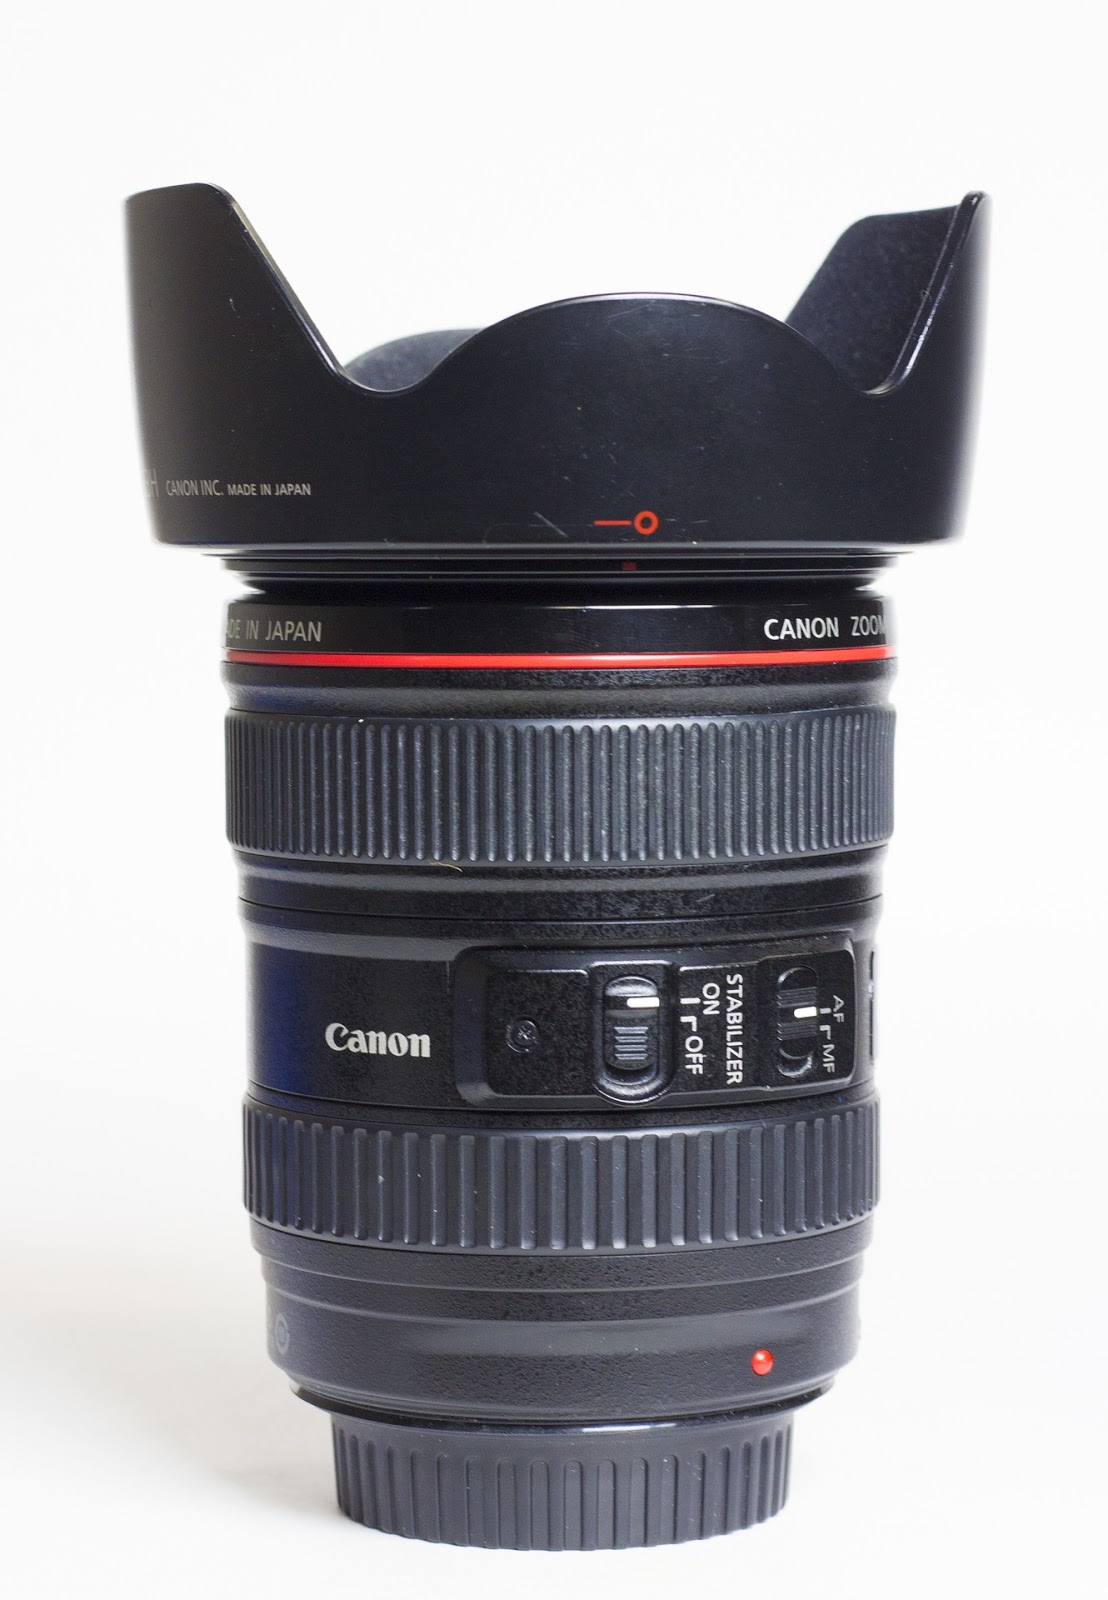
If you don't have a rain cover, a lens hood can be an effective alternative in a pinch. A lens hood is a plastic cover that can be attached to the front of your camera that is usually used to reduce flare (sunlight) and protect the lens from bumps. However, in wet weather, a lens hood can be used to prevent water getting on your lens and ruining your shots.

If you have a quick look on Amazon, you'll be able to find a suitable lens hood for around £10 - £15.
Tip #3: Don't clean your lens on your shirt
Let's assume that despite all your best efforts water has managed to get on your lens (how annoying!). What's the best way to clean it? Well, not using your shirt! Using a shirt can leave smudges on the lens and leave microscopic scratches that can add up over time.
 We recommend using a microfibre cloth to dab and wipe off the water.
Tip #4: Wipe down your gear
You've been out all day and you've more or less been able to keep your gear dry. Even though most professional equipment is water resistant, that's not to say that over time it can't get ruined. This is because there's a chance that water could eventually reach the internal electronics of your camera and degrade them over time.
Luckily the solution is simple! After your shoot, take five to ten minutes to wipe down your gear and make sure it's dry.
Tip #5: Invest in silica gel
As we've already said, water and moisture inside the electronics of your camera can be disastrous and ruin it overtime. However, one of the easiest ways to get moisture out of your camera bag is to invest in silica gel. Not only will they help suck the moisture out, but they only cost £3 on Amazon!

If you have any questions about these tips or you want to find out more information about how Property Video Solutions can help your business please visit our website.
But for professional photographers and videographers, the work doesn't stop because of a change of weather! Rain, snow, or sleet the best always find a way to deliver.
To help you shoot in tricky weather, here's our top five tips to shooting in the wet.
Tip #1: Get a rain cover
If you don't already have one in your camera bag, invest in a rain cover! While a rain cover might limit your ability to adjust focus and view images on your camera, it's much better than spoiling a days shoot and having water or streaks on your lens.
We recommend the Neewer rain cover, which can be found on Amazon for £8.99.

If you don't have a rain cover, a lens hood can be an effective alternative in a pinch. A lens hood is a plastic cover that can be attached to the front of your camera that is usually used to reduce flare (sunlight) and protect the lens from bumps. However, in wet weather, a lens hood can be used to prevent water getting on your lens and ruining your shots.
If you have a quick look on Amazon, you'll be able to find a suitable lens hood for around £10 - £15.
Tip #3: Don't clean your lens on your shirt
Let's assume that despite all your best efforts water has managed to get on your lens (how annoying!). What's the best way to clean it? Well, not using your shirt! Using a shirt can leave smudges on the lens and leave microscopic scratches that can add up over time.

Tip #4: Wipe down your gear
You've been out all day and you've more or less been able to keep your gear dry. Even though most professional equipment is water resistant, that's not to say that over time it can't get ruined. This is because there's a chance that water could eventually reach the internal electronics of your camera and degrade them over time.
Luckily the solution is simple! After your shoot, take five to ten minutes to wipe down your gear and make sure it's dry.
Tip #5: Invest in silica gel
As we've already said, water and moisture inside the electronics of your camera can be disastrous and ruin it overtime. However, one of the easiest ways to get moisture out of your camera bag is to invest in silica gel. Not only will they help suck the moisture out, but they only cost £3 on Amazon!

If you have any questions about these tips or you want to find out more information about how Property Video Solutions can help your business please visit our website.
Comments
Post a Comment